PLB Restricted Products
NomadPOS have functionality added to it so that retailers can manage their restricted products as part of standard product maintenance.
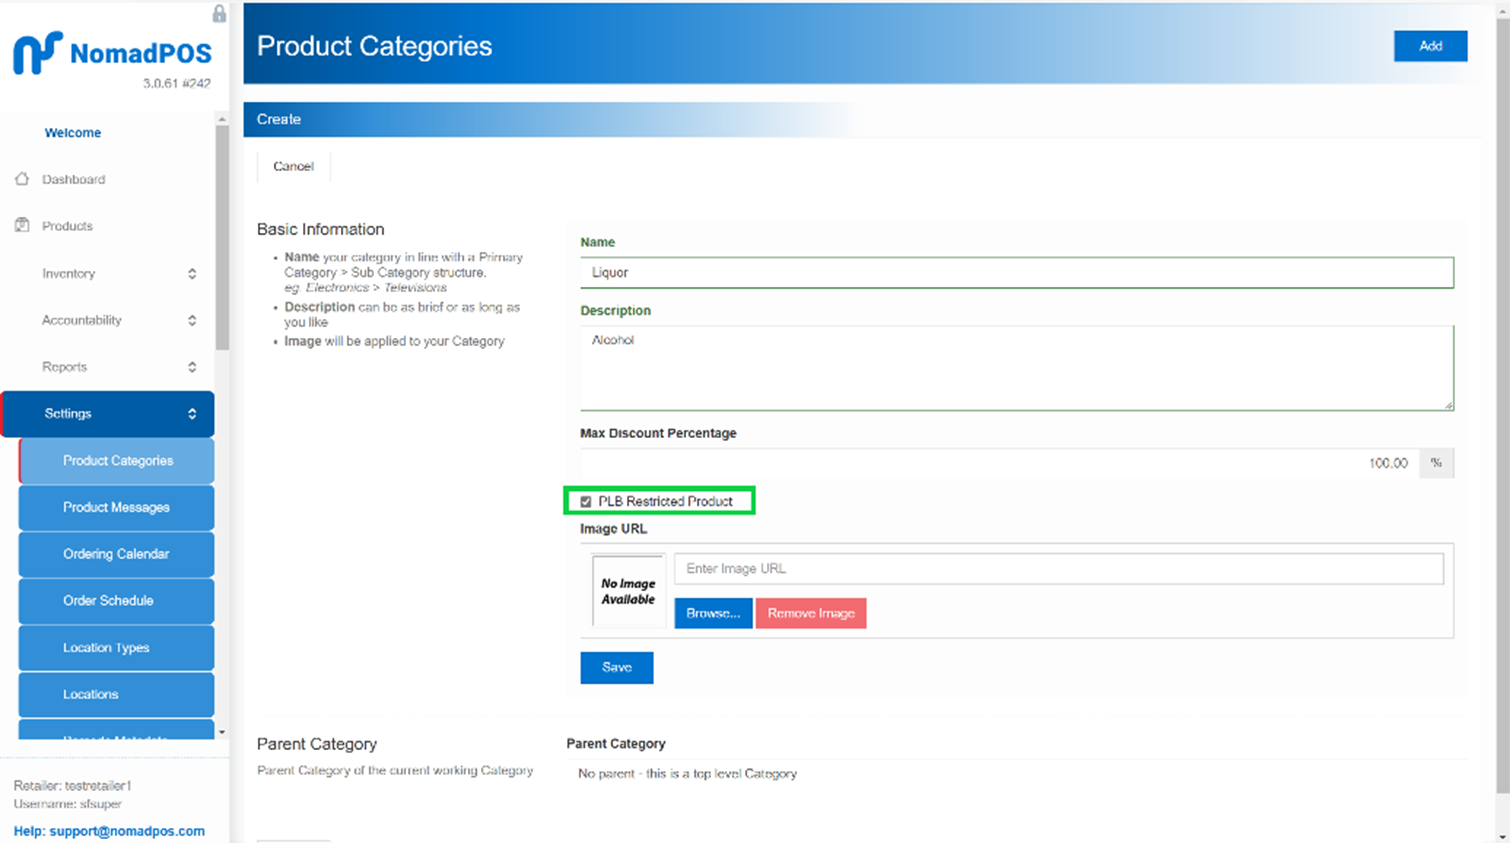
Set the PLB restricted flag to true or false within Category Maintenance screen:
- From the side bar menu, select the Settings.
- Select Product Categories.
- Click the Add button on the Context Panel of Product Categories screen.
- Fill out the fields.
- Tick/ Untick the PLB Restricted Product checkbox.
- Select the Save button.
The restricted flag for a Product Category has been set up.
- This can be done at any level of the category structure.
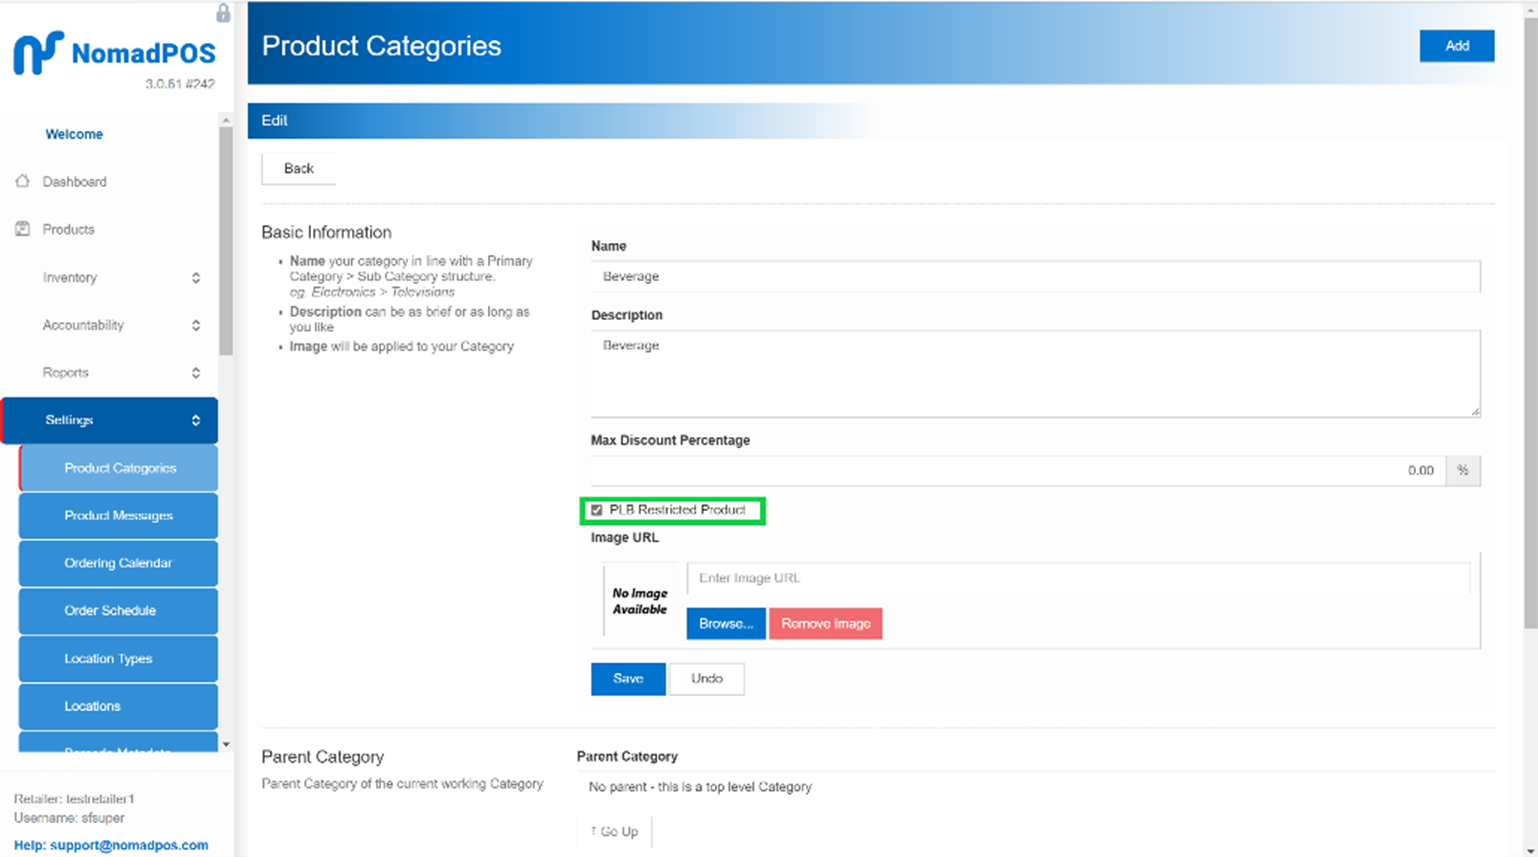
Update the restricted flag for all items within the selected category.
- From the side bar menu, select the Settings
- Select Product Categories.
- Choose an existing Product Category.
- Click the Edit.
- Tick/ Untick the PLB Restricted Product checkbox.
- Select the Save button.
The restricted flag for all items within the selected Product Category has been updated
Notes:
- This can be done at any level of the category structure.
- Making a change to the restricted flag will not only cause an update to all products within that category but also other lower-level categories within the structure.
- Changes to the restricted flag at the category can be subsequently refined at lower category levels or for individual products. The update impacts existing products and new products added to the category.
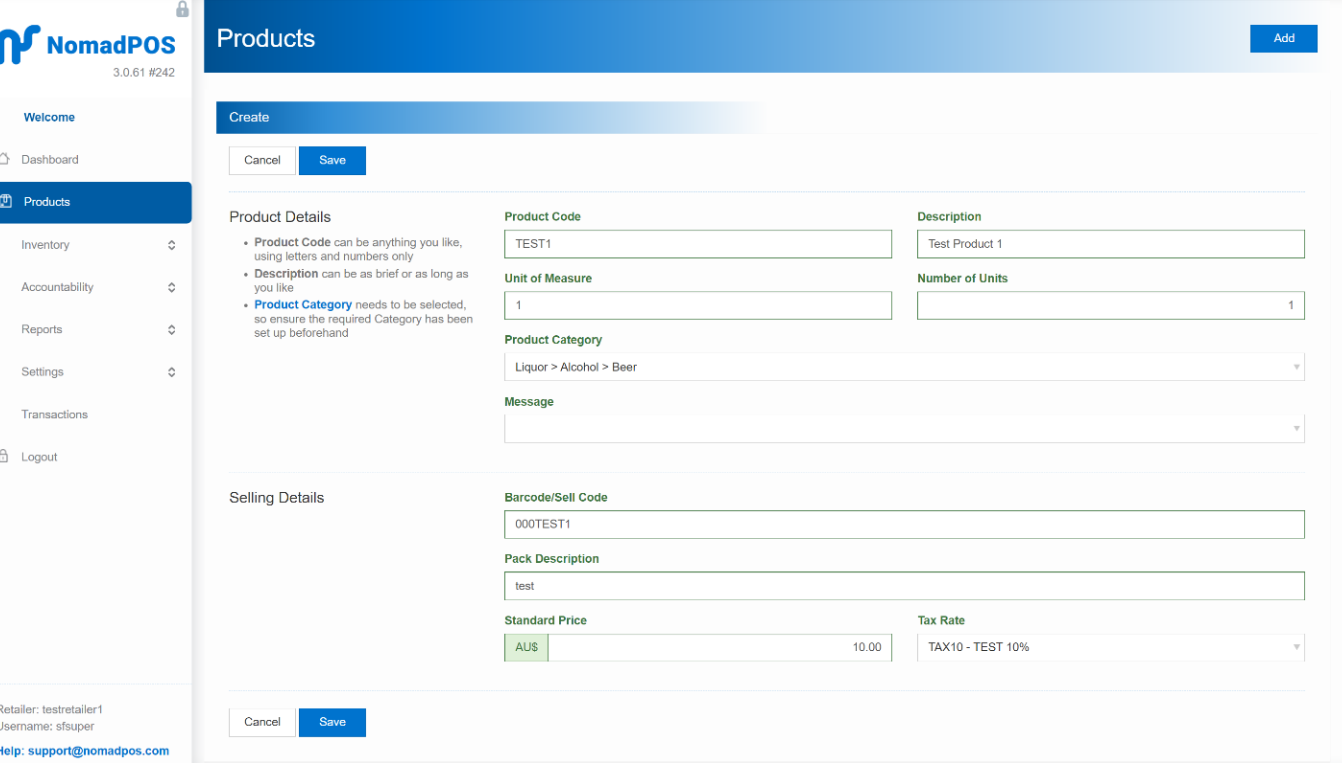
Set PLB Restricted Products within Product Maintenance page
- From the side bar menu, select the Products.
- Click the Add button on the Context Panel of Products screen
- Fill out the fields on the Product Create screen
- Select a Product Category
- Select the Save button.
The restricted flag within the Product Maintenance page has been set. This can be verified by navigating to the Selling Info tab of the added product.
Notes:
- A new product inherits the restricted flag status of the Product Category associated to it.
Update PLB Restricted Products within Product Maintenance page
- From the side bar menu, select the Products.
- Search for an existing Product
- Click a product and select Edit button.
- Tap the Selling Info Tab
- Tick the PLB Restricted Product checkbox to update the PLB restricted flag.
- Select the Save button.

The restricted flag within the Product Maintenance page has been updated.
Notes:
- PLB restricted flag is hidden by default and should not be available to all users. To enable the flag within your security profile, please contact our support team.
- An existing product that was moved to a different category will not inherit the flag status of its new parent category.
Product added via “Product Import” have the restricted product flag set based on inheritance of Product Category settings.
- Export a product file
- Add a new row to the Product excel file to add a product
- Set a Category for the added product
- Import the Product file with a new product associated to an existing product category
The restricted flag of the set product category will be inherited by the newly added product via Product import.
Notes:
- An existing product that was moved to a different category will not inherit the flag status of its new parent category.